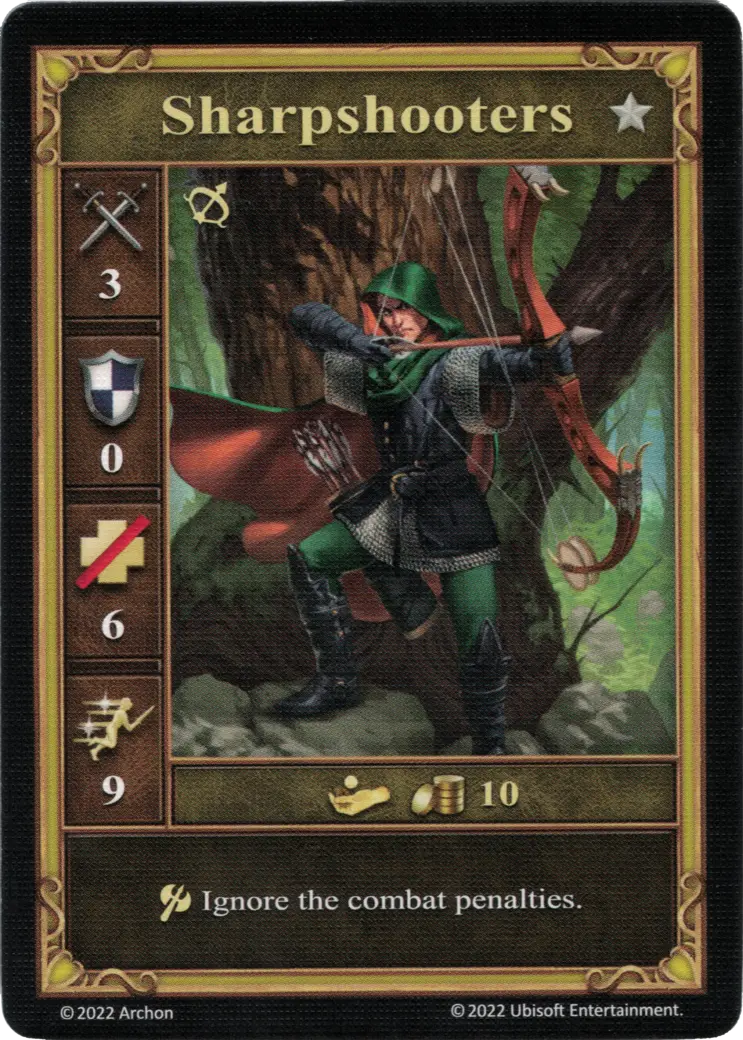
Sharpshooter
Read in another language: 

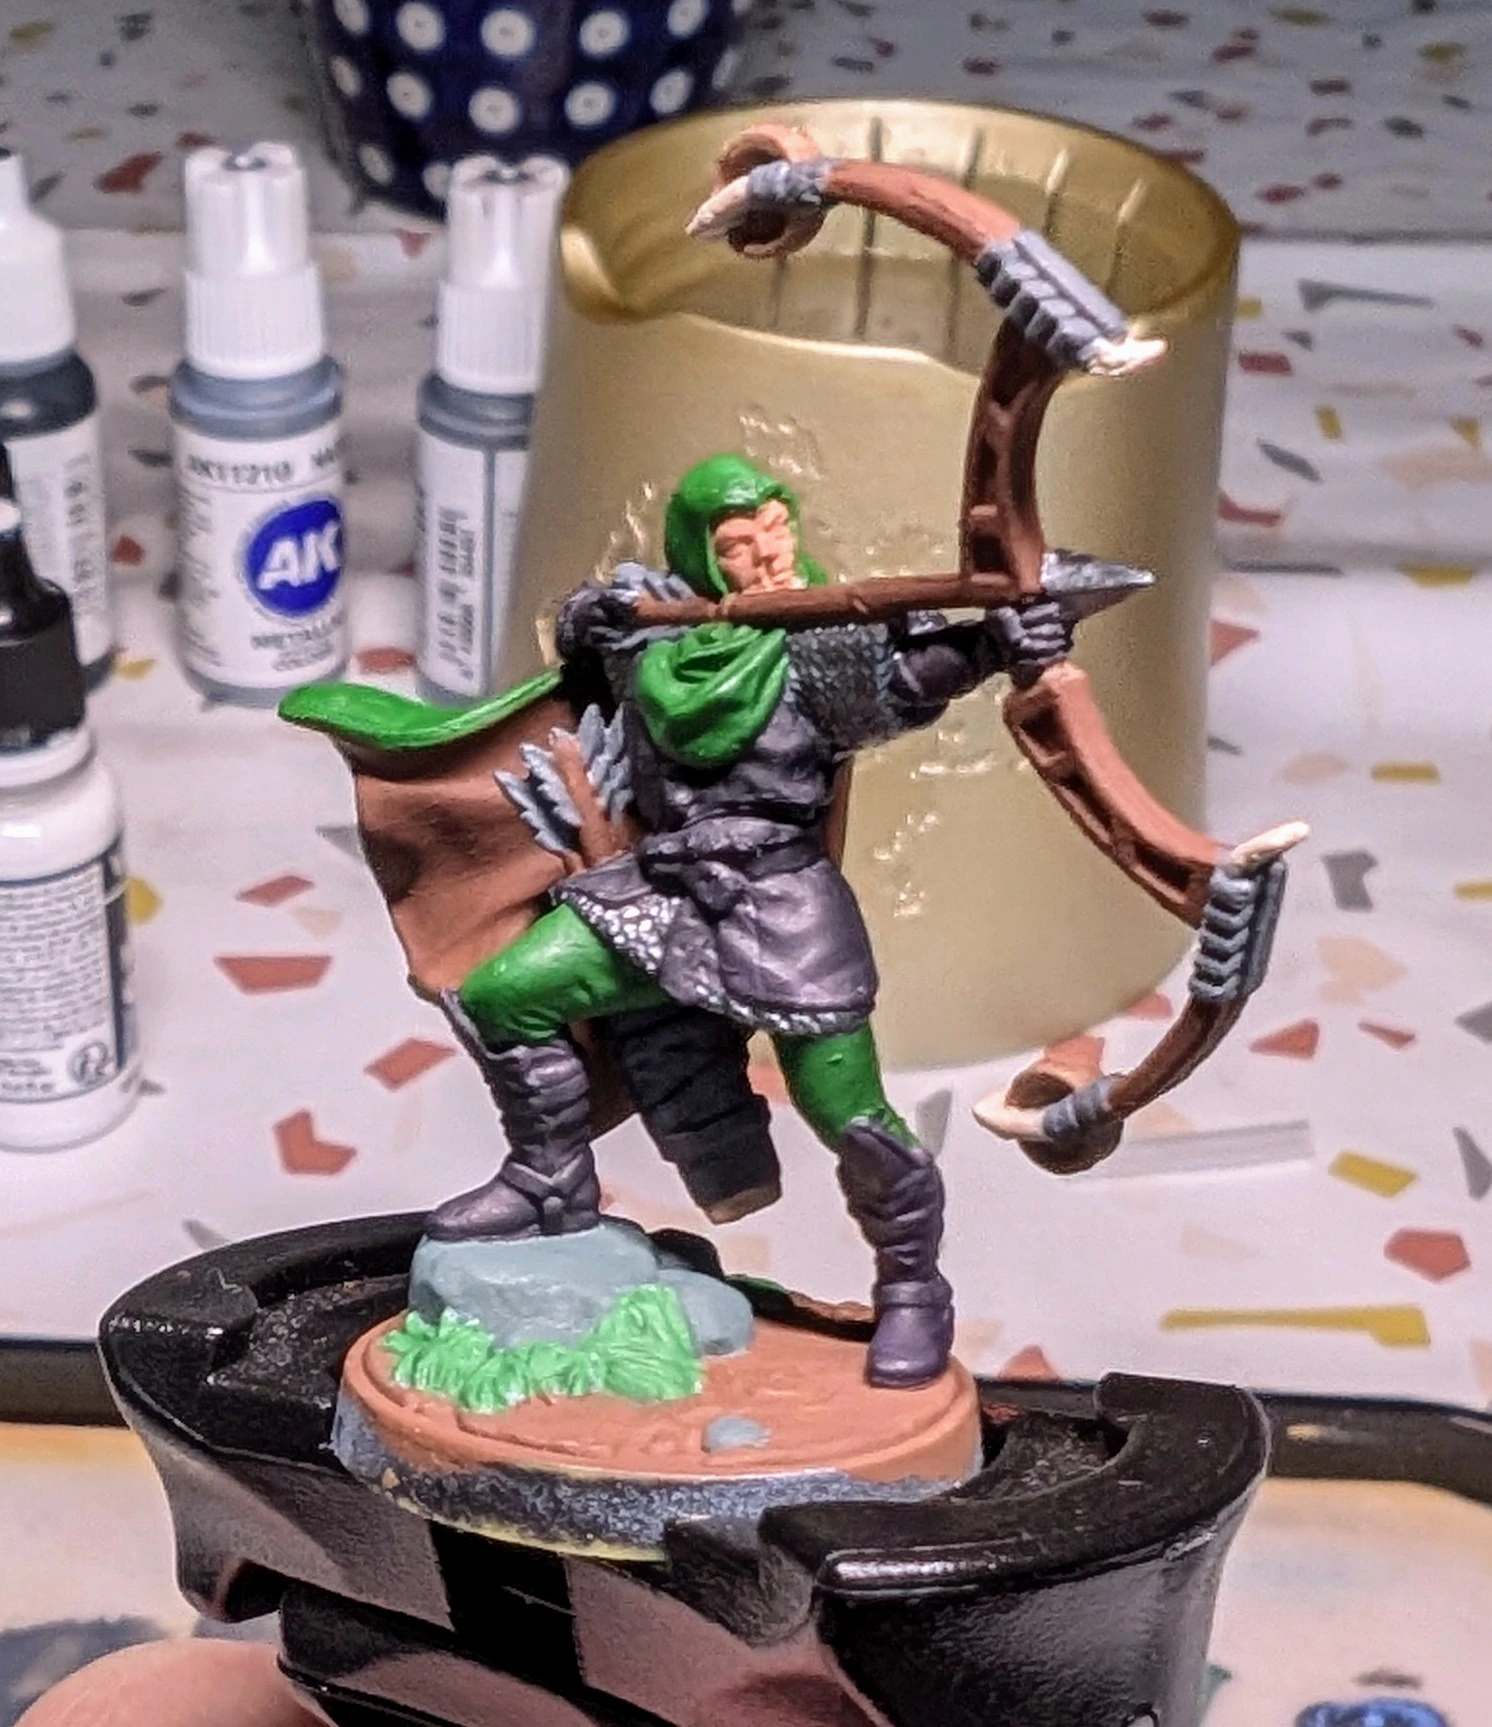
A flamboyant cloak is always fun to paint.


Click to see the unboxing video
I need to row back on my previous statements regarding the limited helpfulness of YouTube tutorials. Vince Venturella's guide to highlighting was incredibly helpful. Key conclusion: we're painting light, not actual colors.
The Process
Let's start with a tip on motivation: it's a lot harder to procrastinate when you paint with friends.
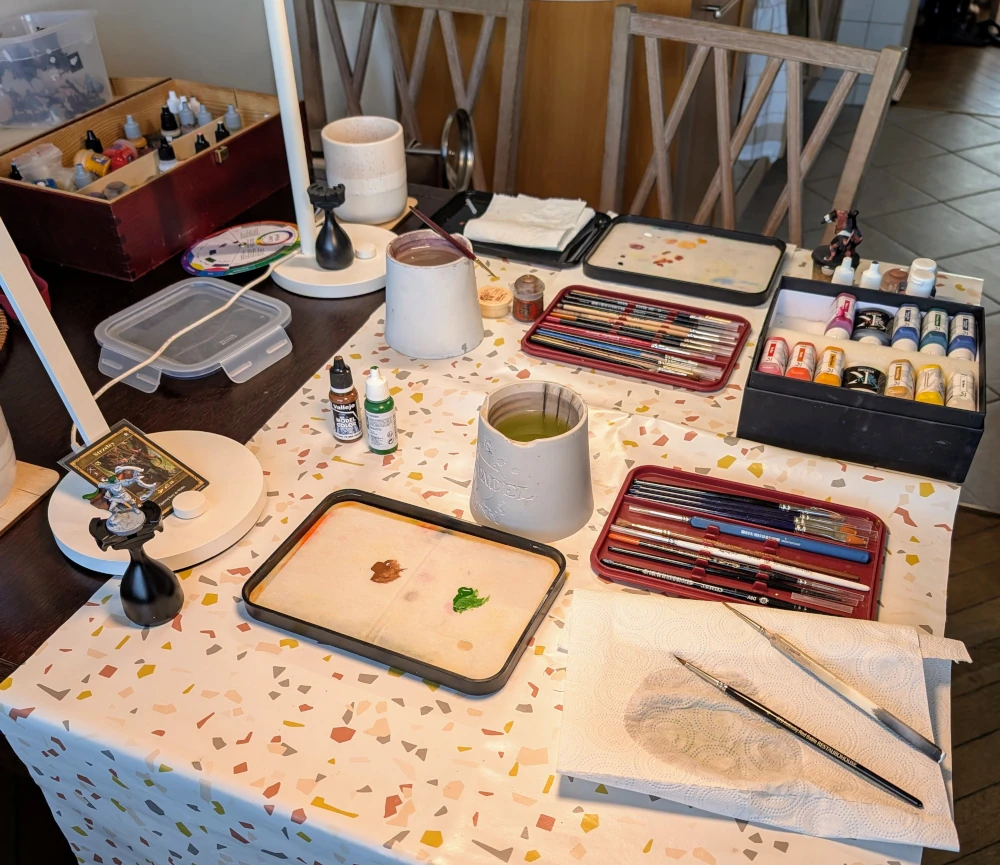
A makeshift painting workshop for two on a kitchen table.
To progress quickly, first paint big surfaces with a big brush. The cloak and the bow are obvious choices (flat brown and flat green). The rest is gun metal for chain mail, and black + purple for leather clothes. I wonder if actual medieval sharpshooters dressed so stylishly.
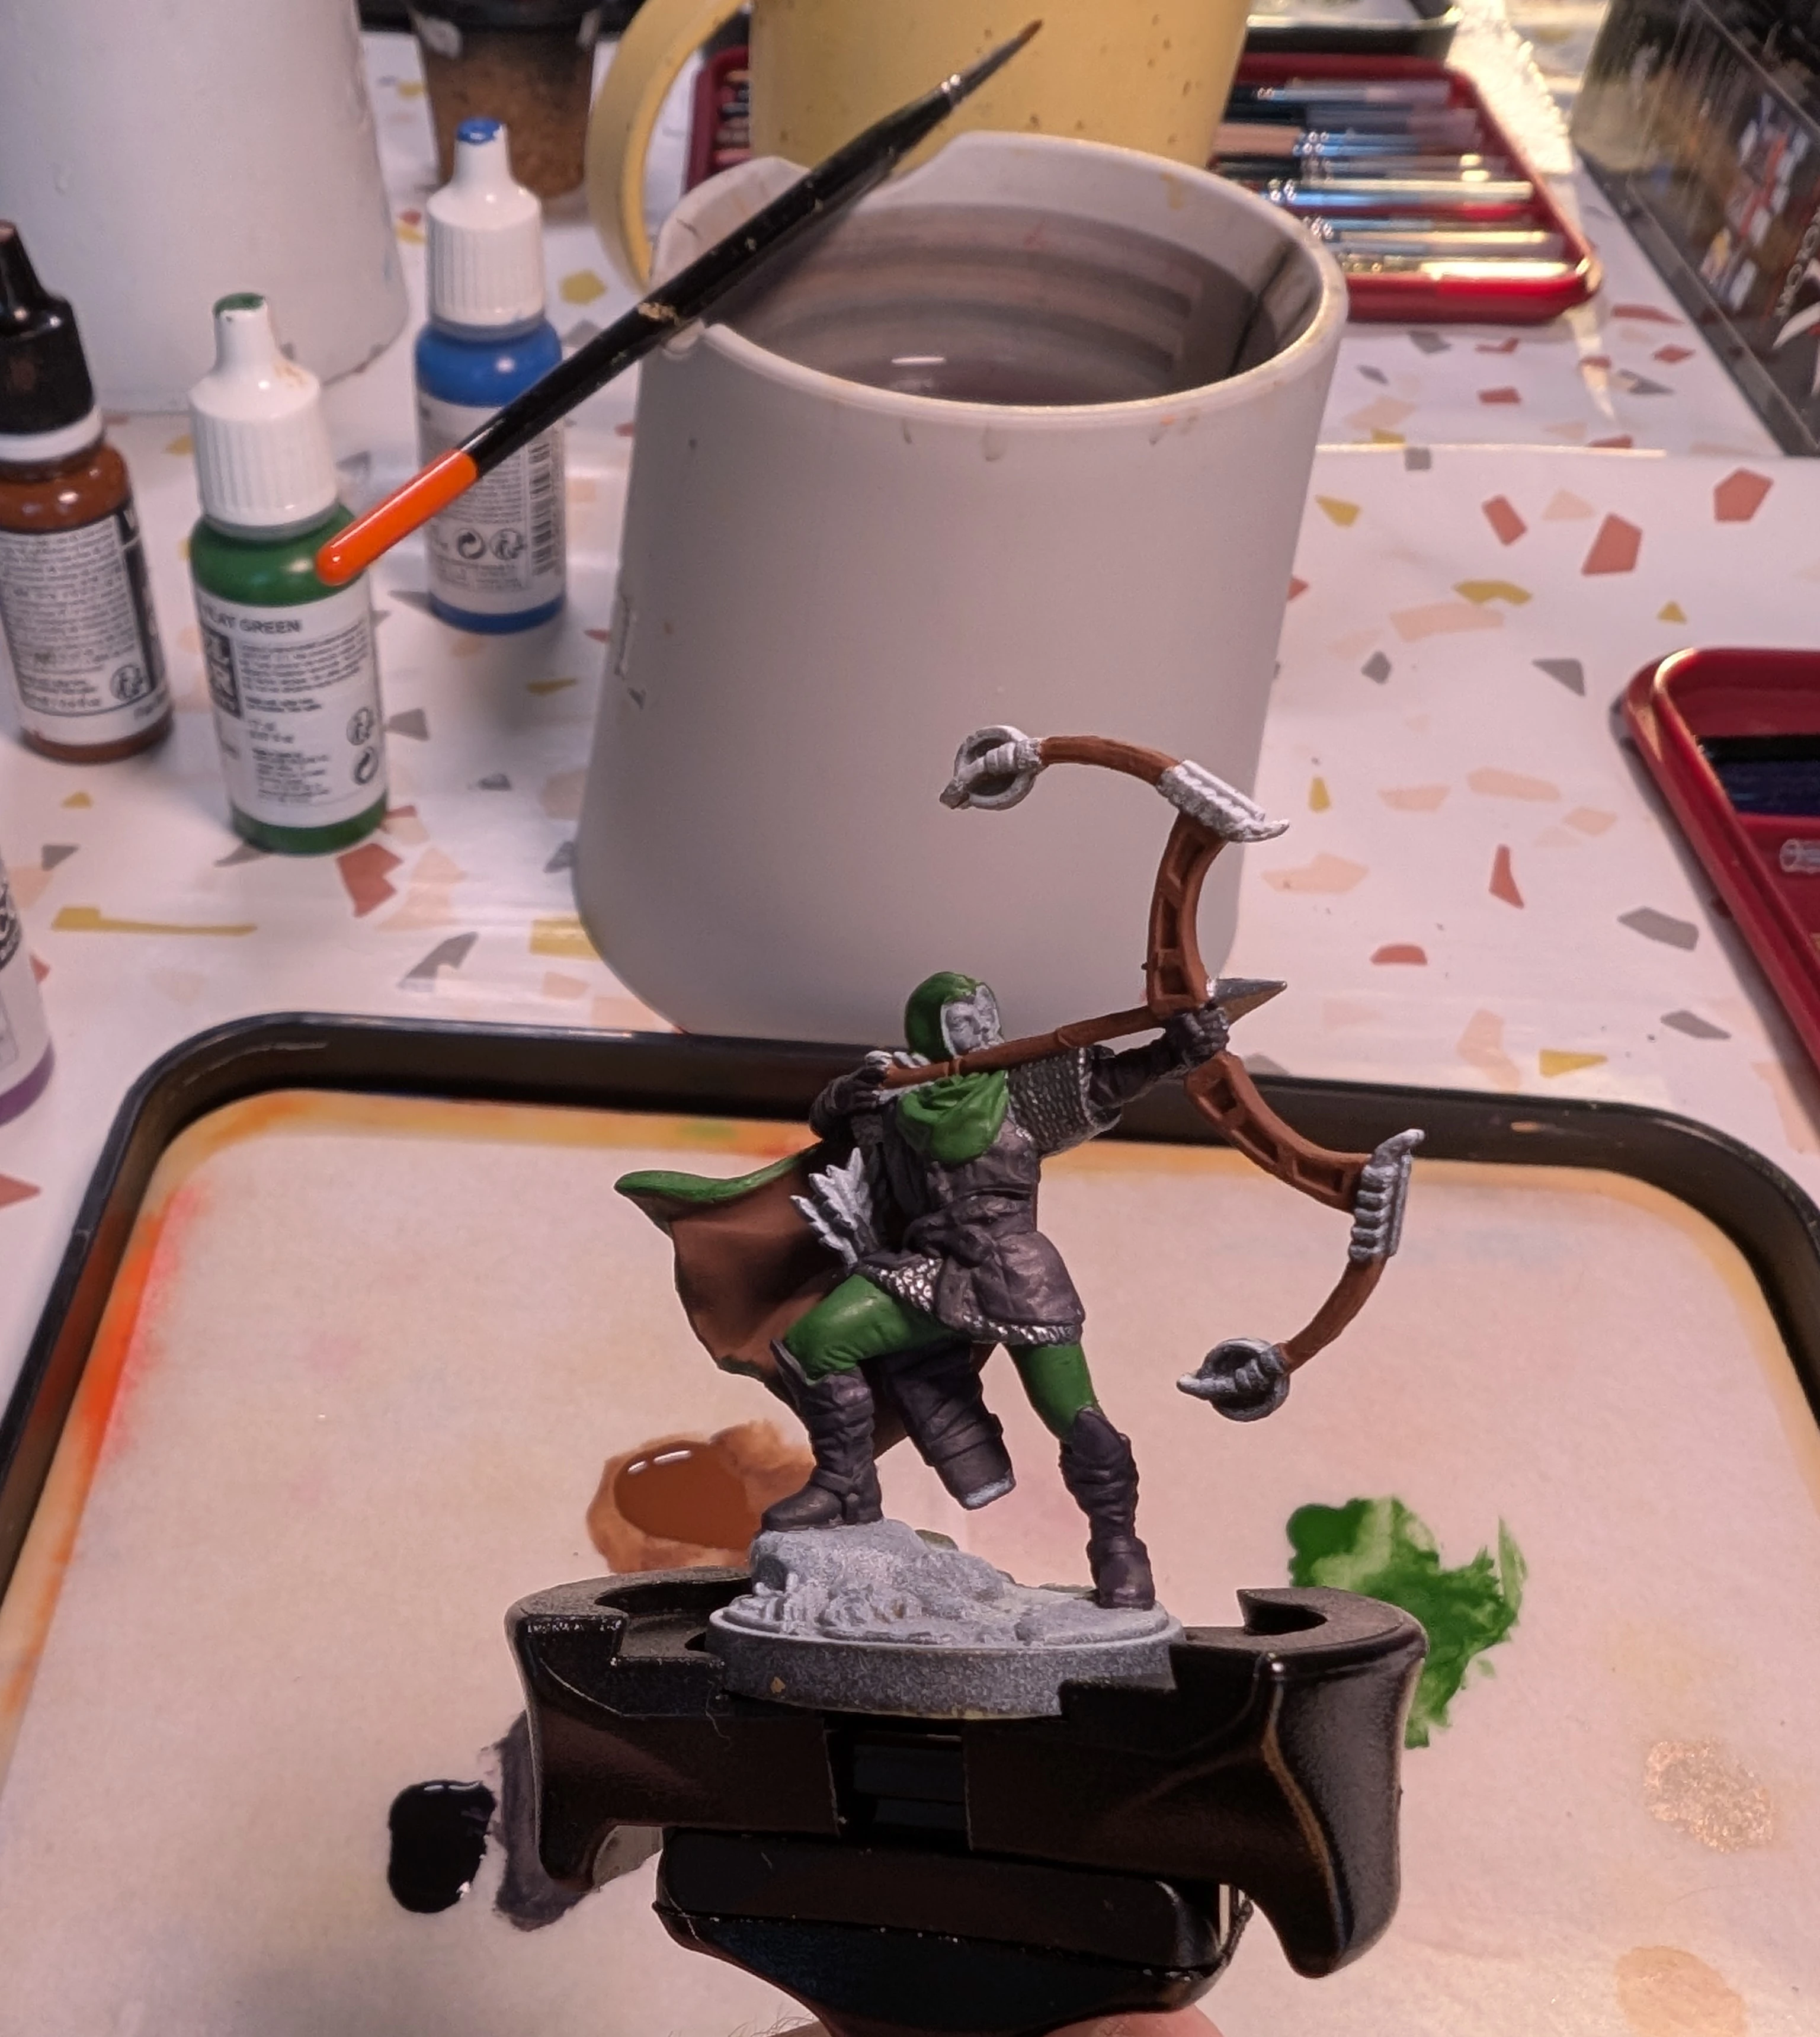
Those small details left to paint are quite time-consuming.
Base layers done. See that cup in the background? It's golden now, ha-ha.
With base layers done, I progressed to highlighting using orange on brown, yellow on green, purple on black, and steel on gun metal. This time, I used wash sparingly: only on the base and in the recesses of the bow (which in reality would be holes). Also, don't forget to dry-brush your rocks. This technique is so awesome it should be illegal.
Conclusion
Key learnings:
-
Watch Vince's video, if you haven't already. No, but really. He's a top-tier mini painter.
-
It actually helps to put your mini under a strong beam of light to see where highlights and shadows should be.
-
Do your friend who hasn't painted in a while a favor, and invite them over for a painting session.