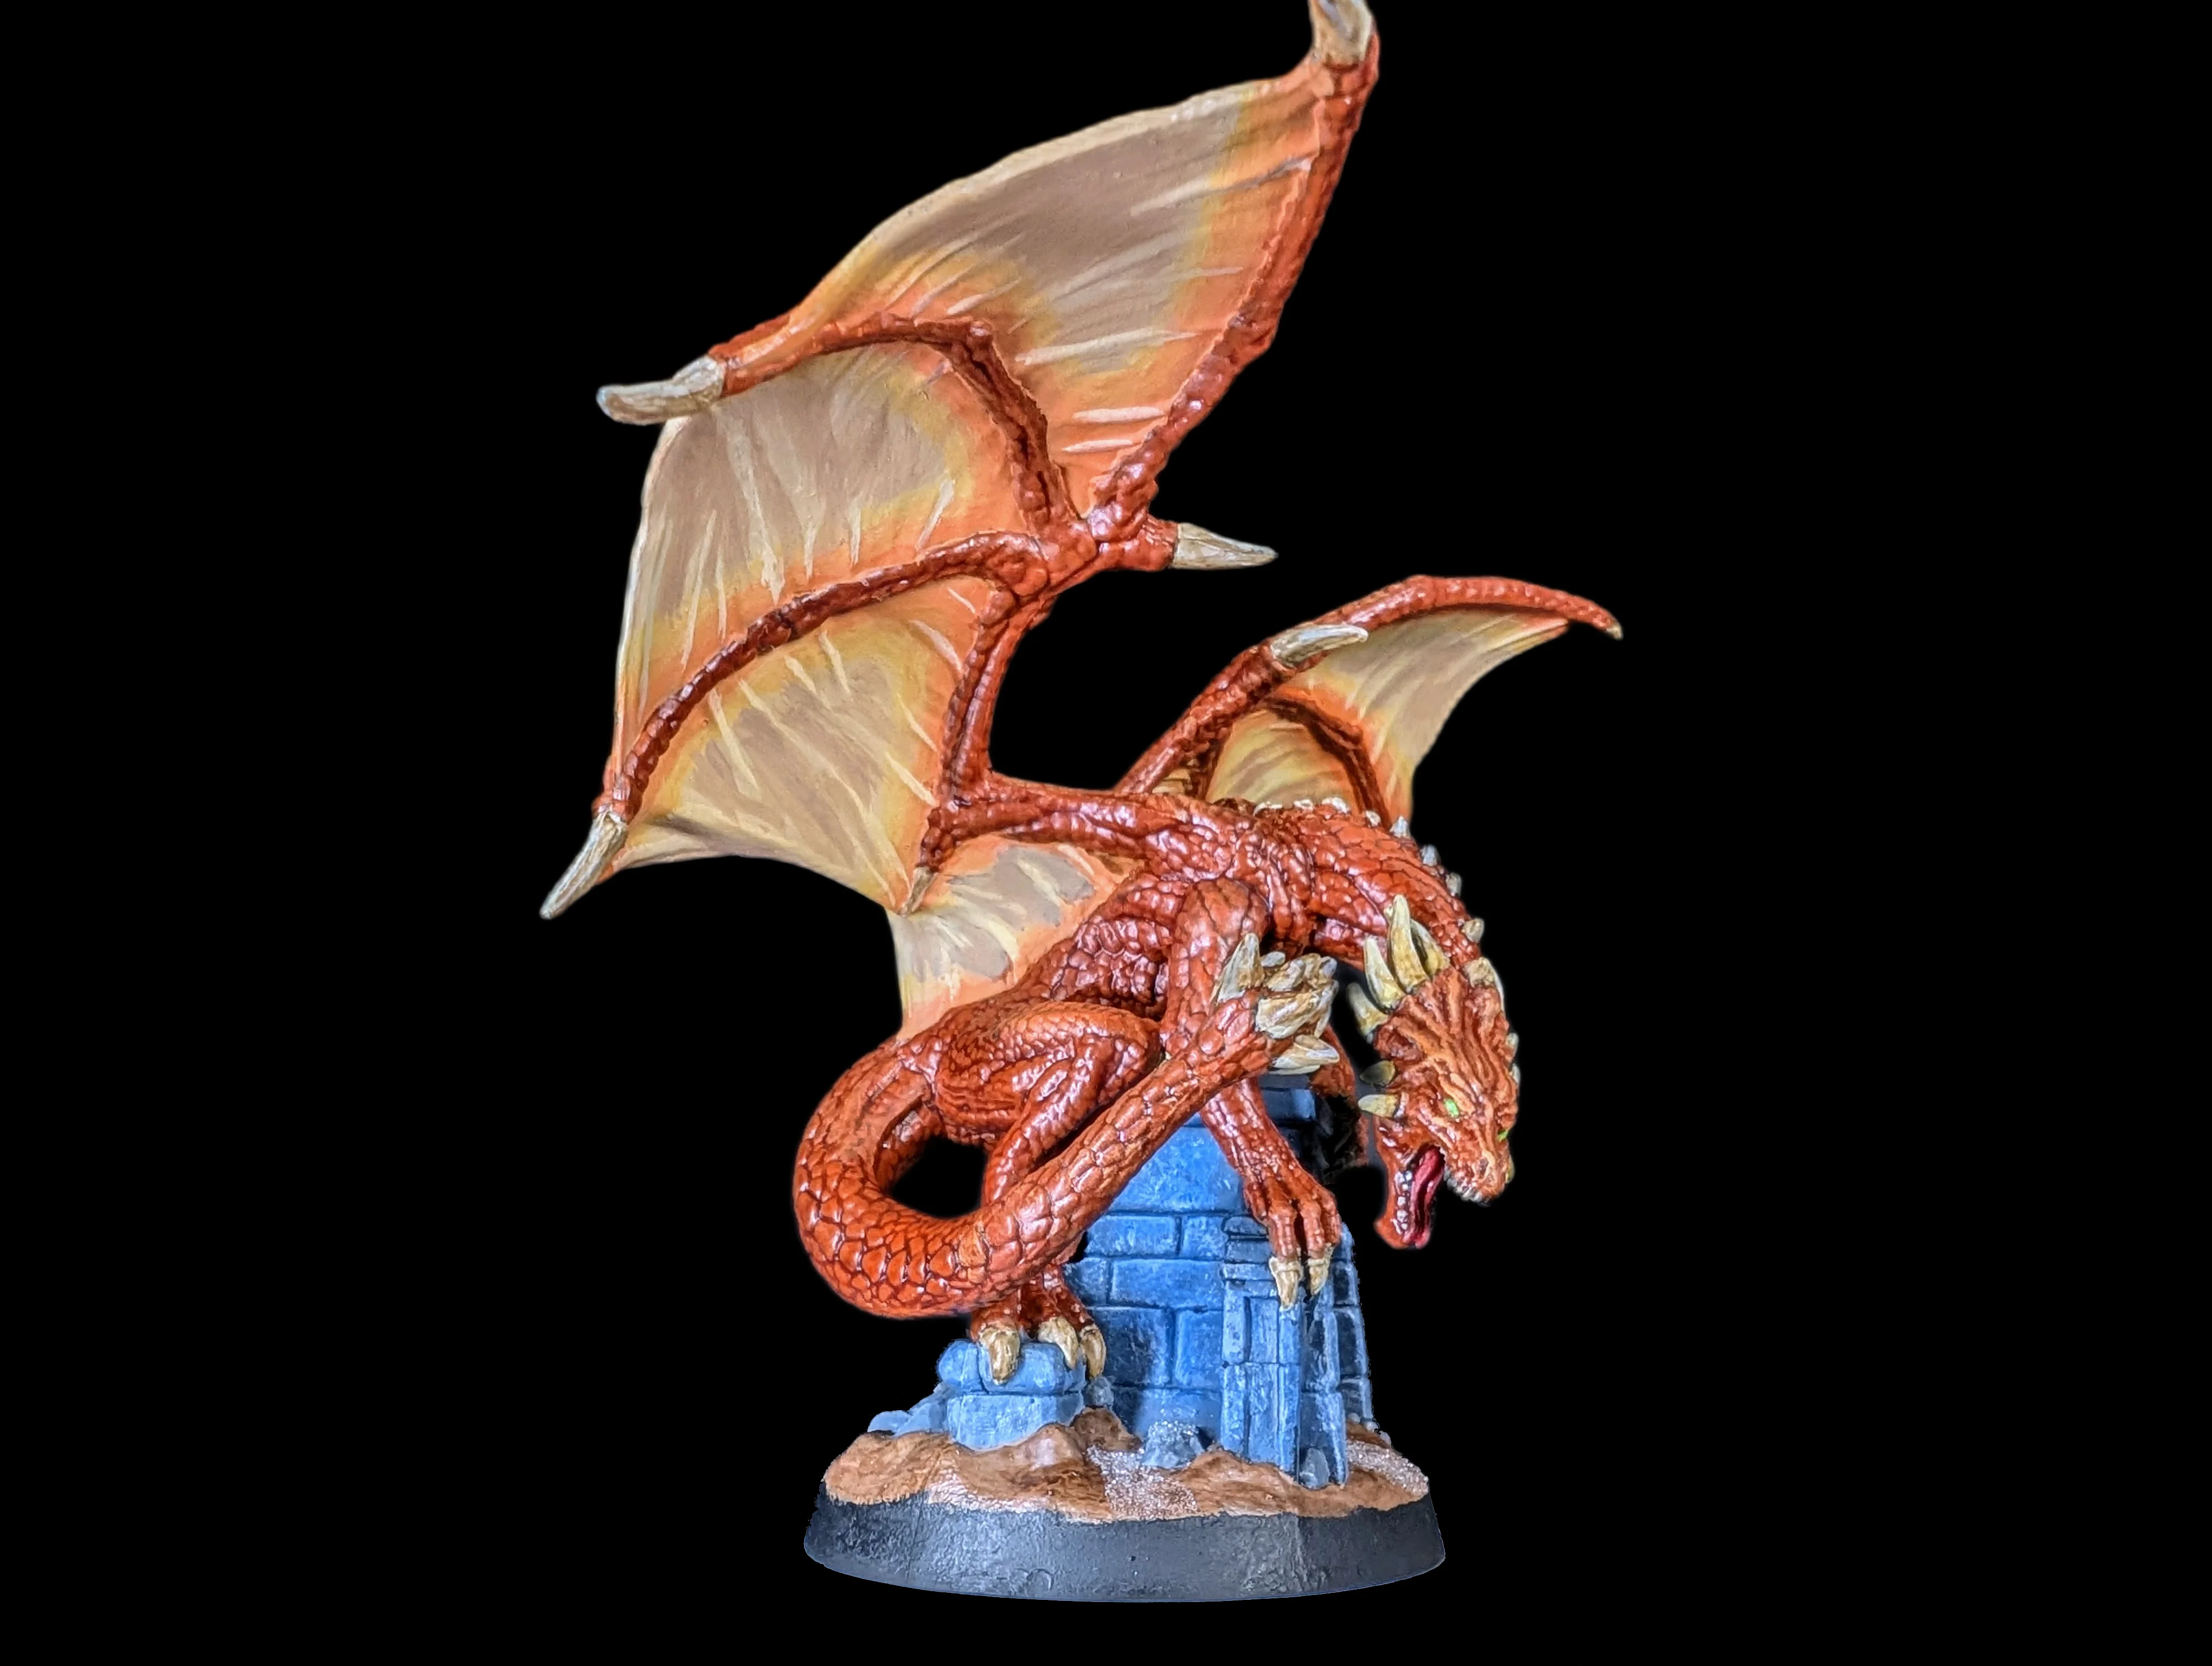
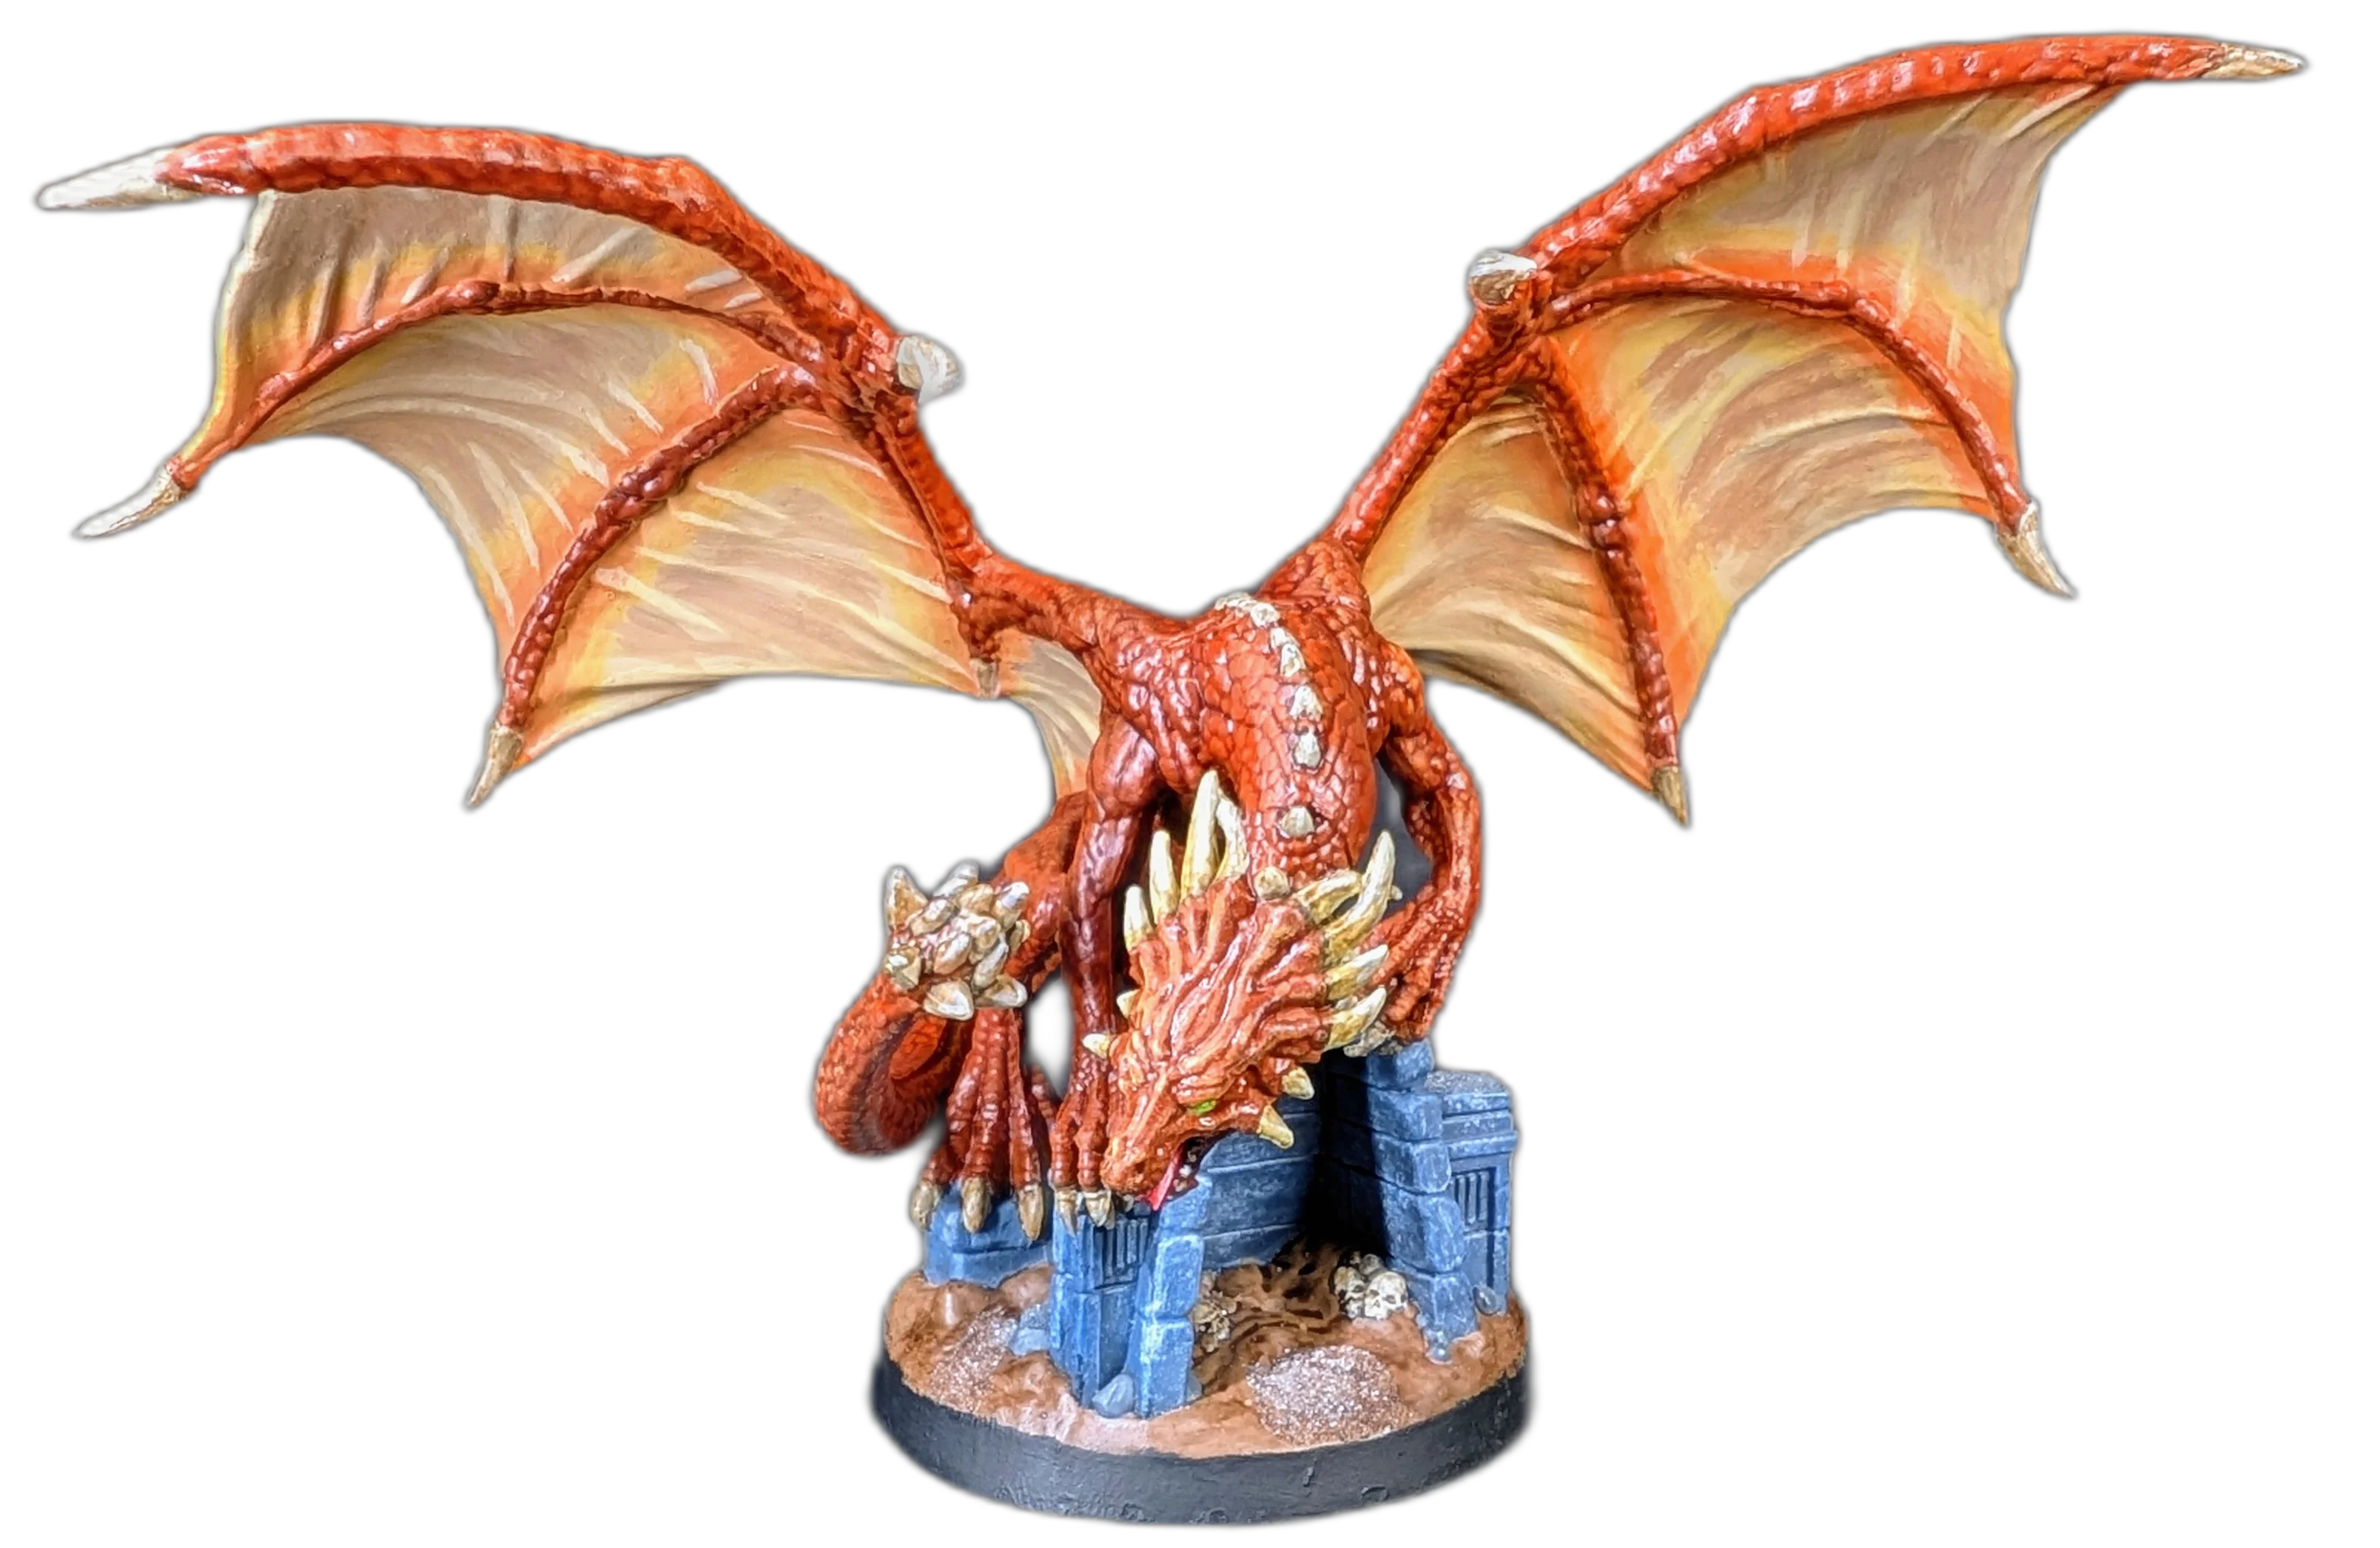
Rust Dragon
Read in another language: 

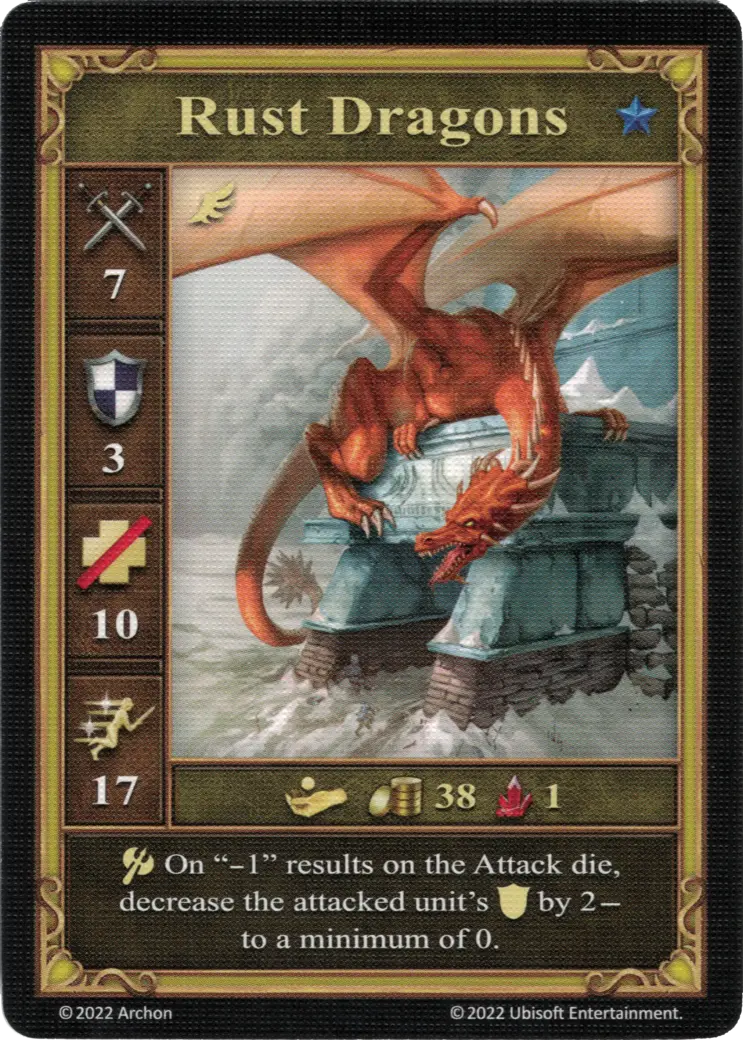
While Rust Dragons ranked as the third strongest unit in the video game, their position was swapped with Crystal Dragons in the board game version.
Click to see the unboxing video
See Rust Dragons on the Wiki.
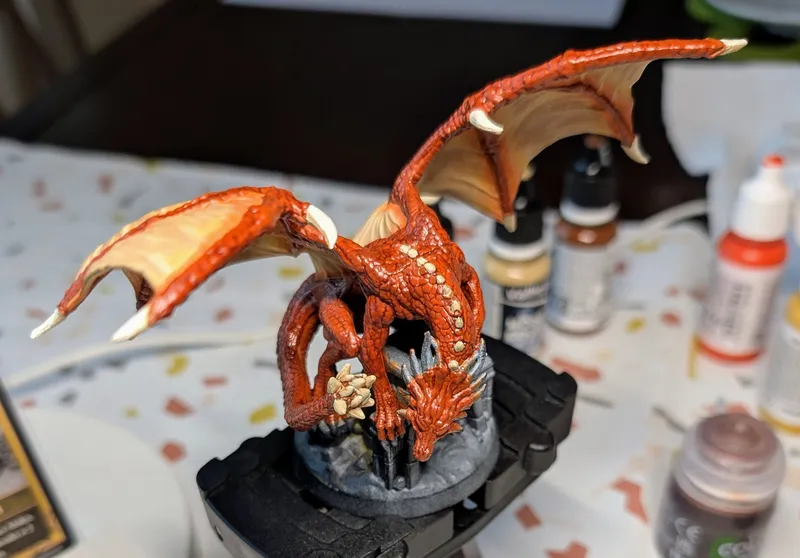
The Plan
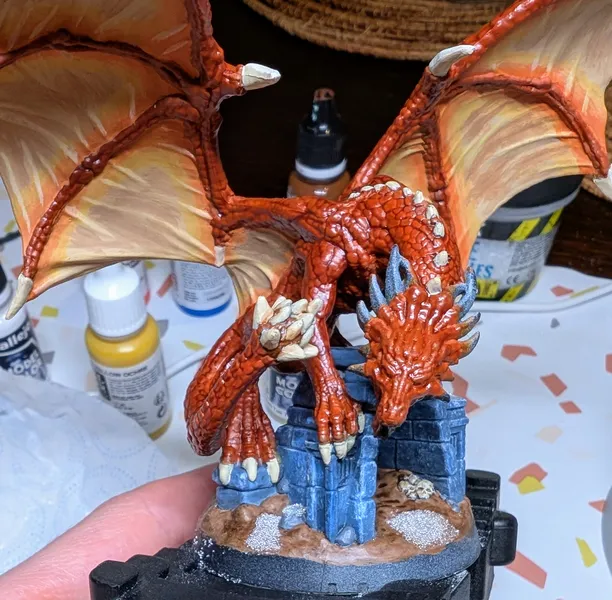
This miniature is significantly larger than most others, so it requires a customized approach. First, I'll cover the large areas of the same color using a cat tongue brush, and then I'll move on to the details.
The Process
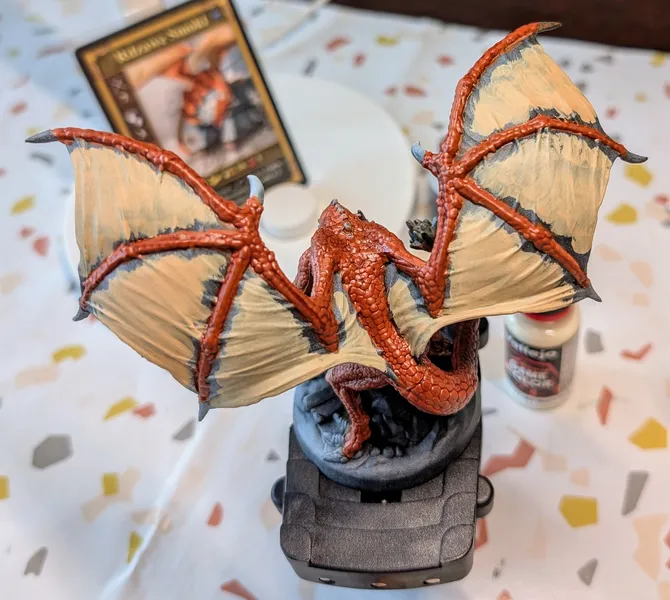
Looking at the reference card, the dragon has orange scales. A mix of orange with a splash of brown should make a good base color.
Scales
I covered the entire dragon's body using a large cat tongue brush.
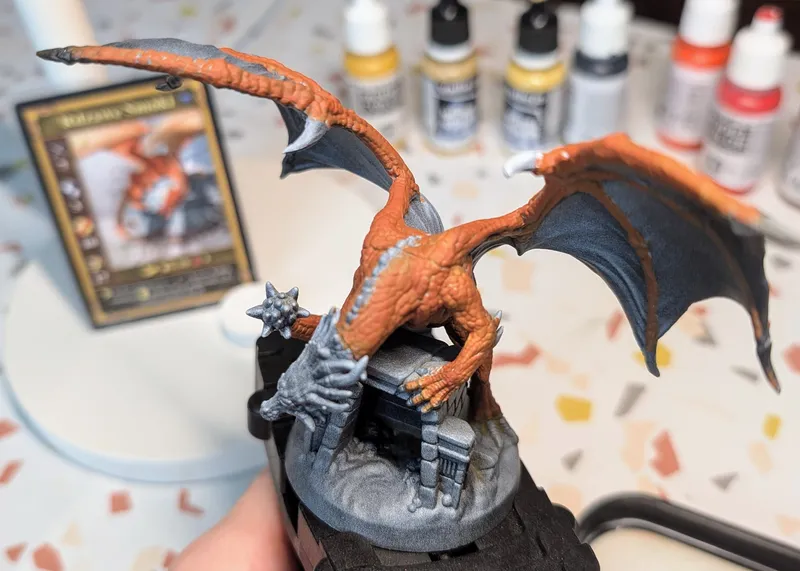
The color is weak, it will require multiple coats.
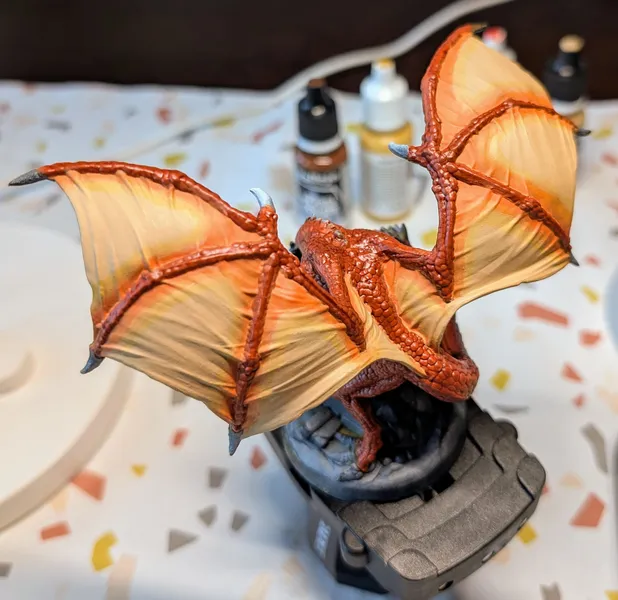
Apply as many layers as needed for full coverage.
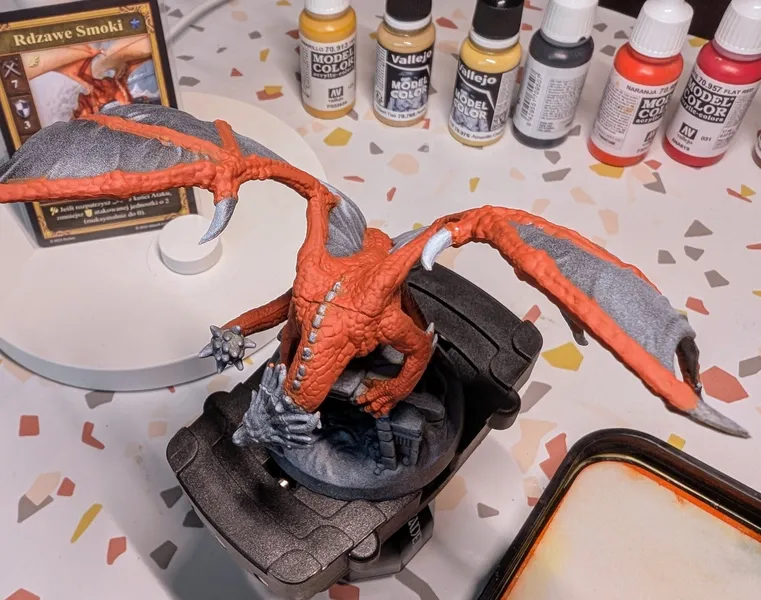
Several layers later.
Finish with a matching wash to darken the recesses between the scales.
Reikland Fleshshade wash works its magic.
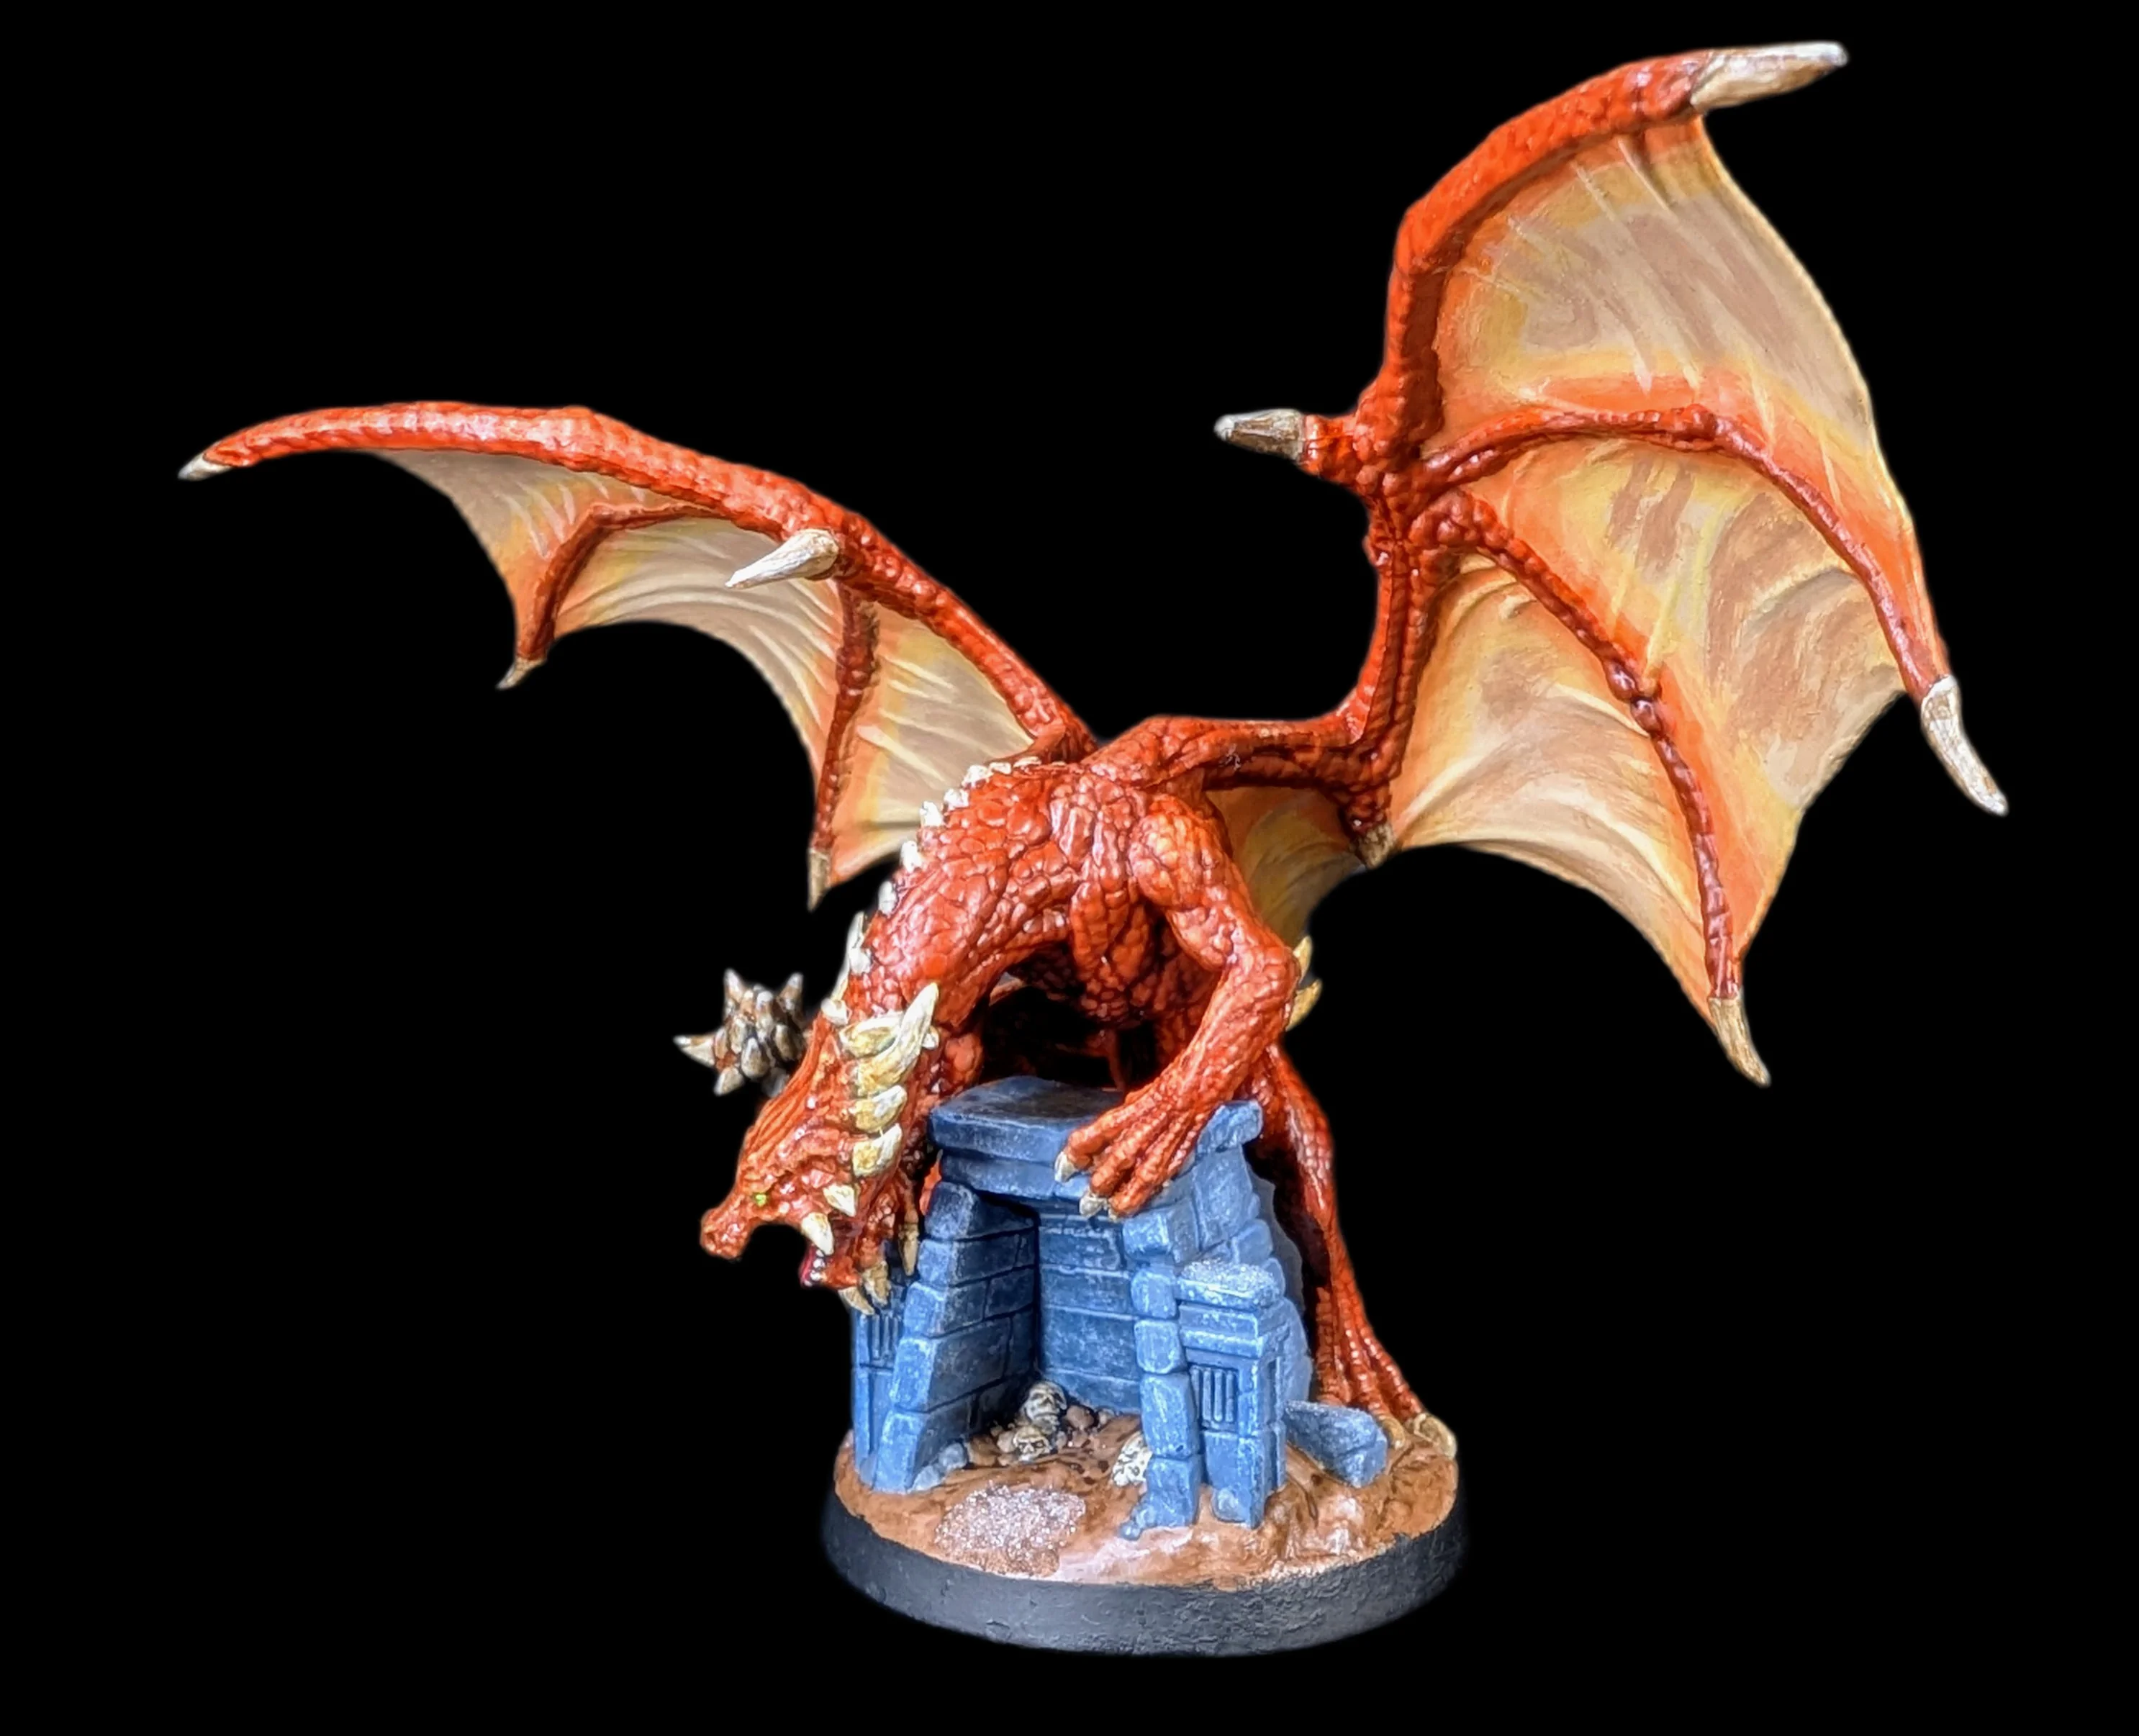
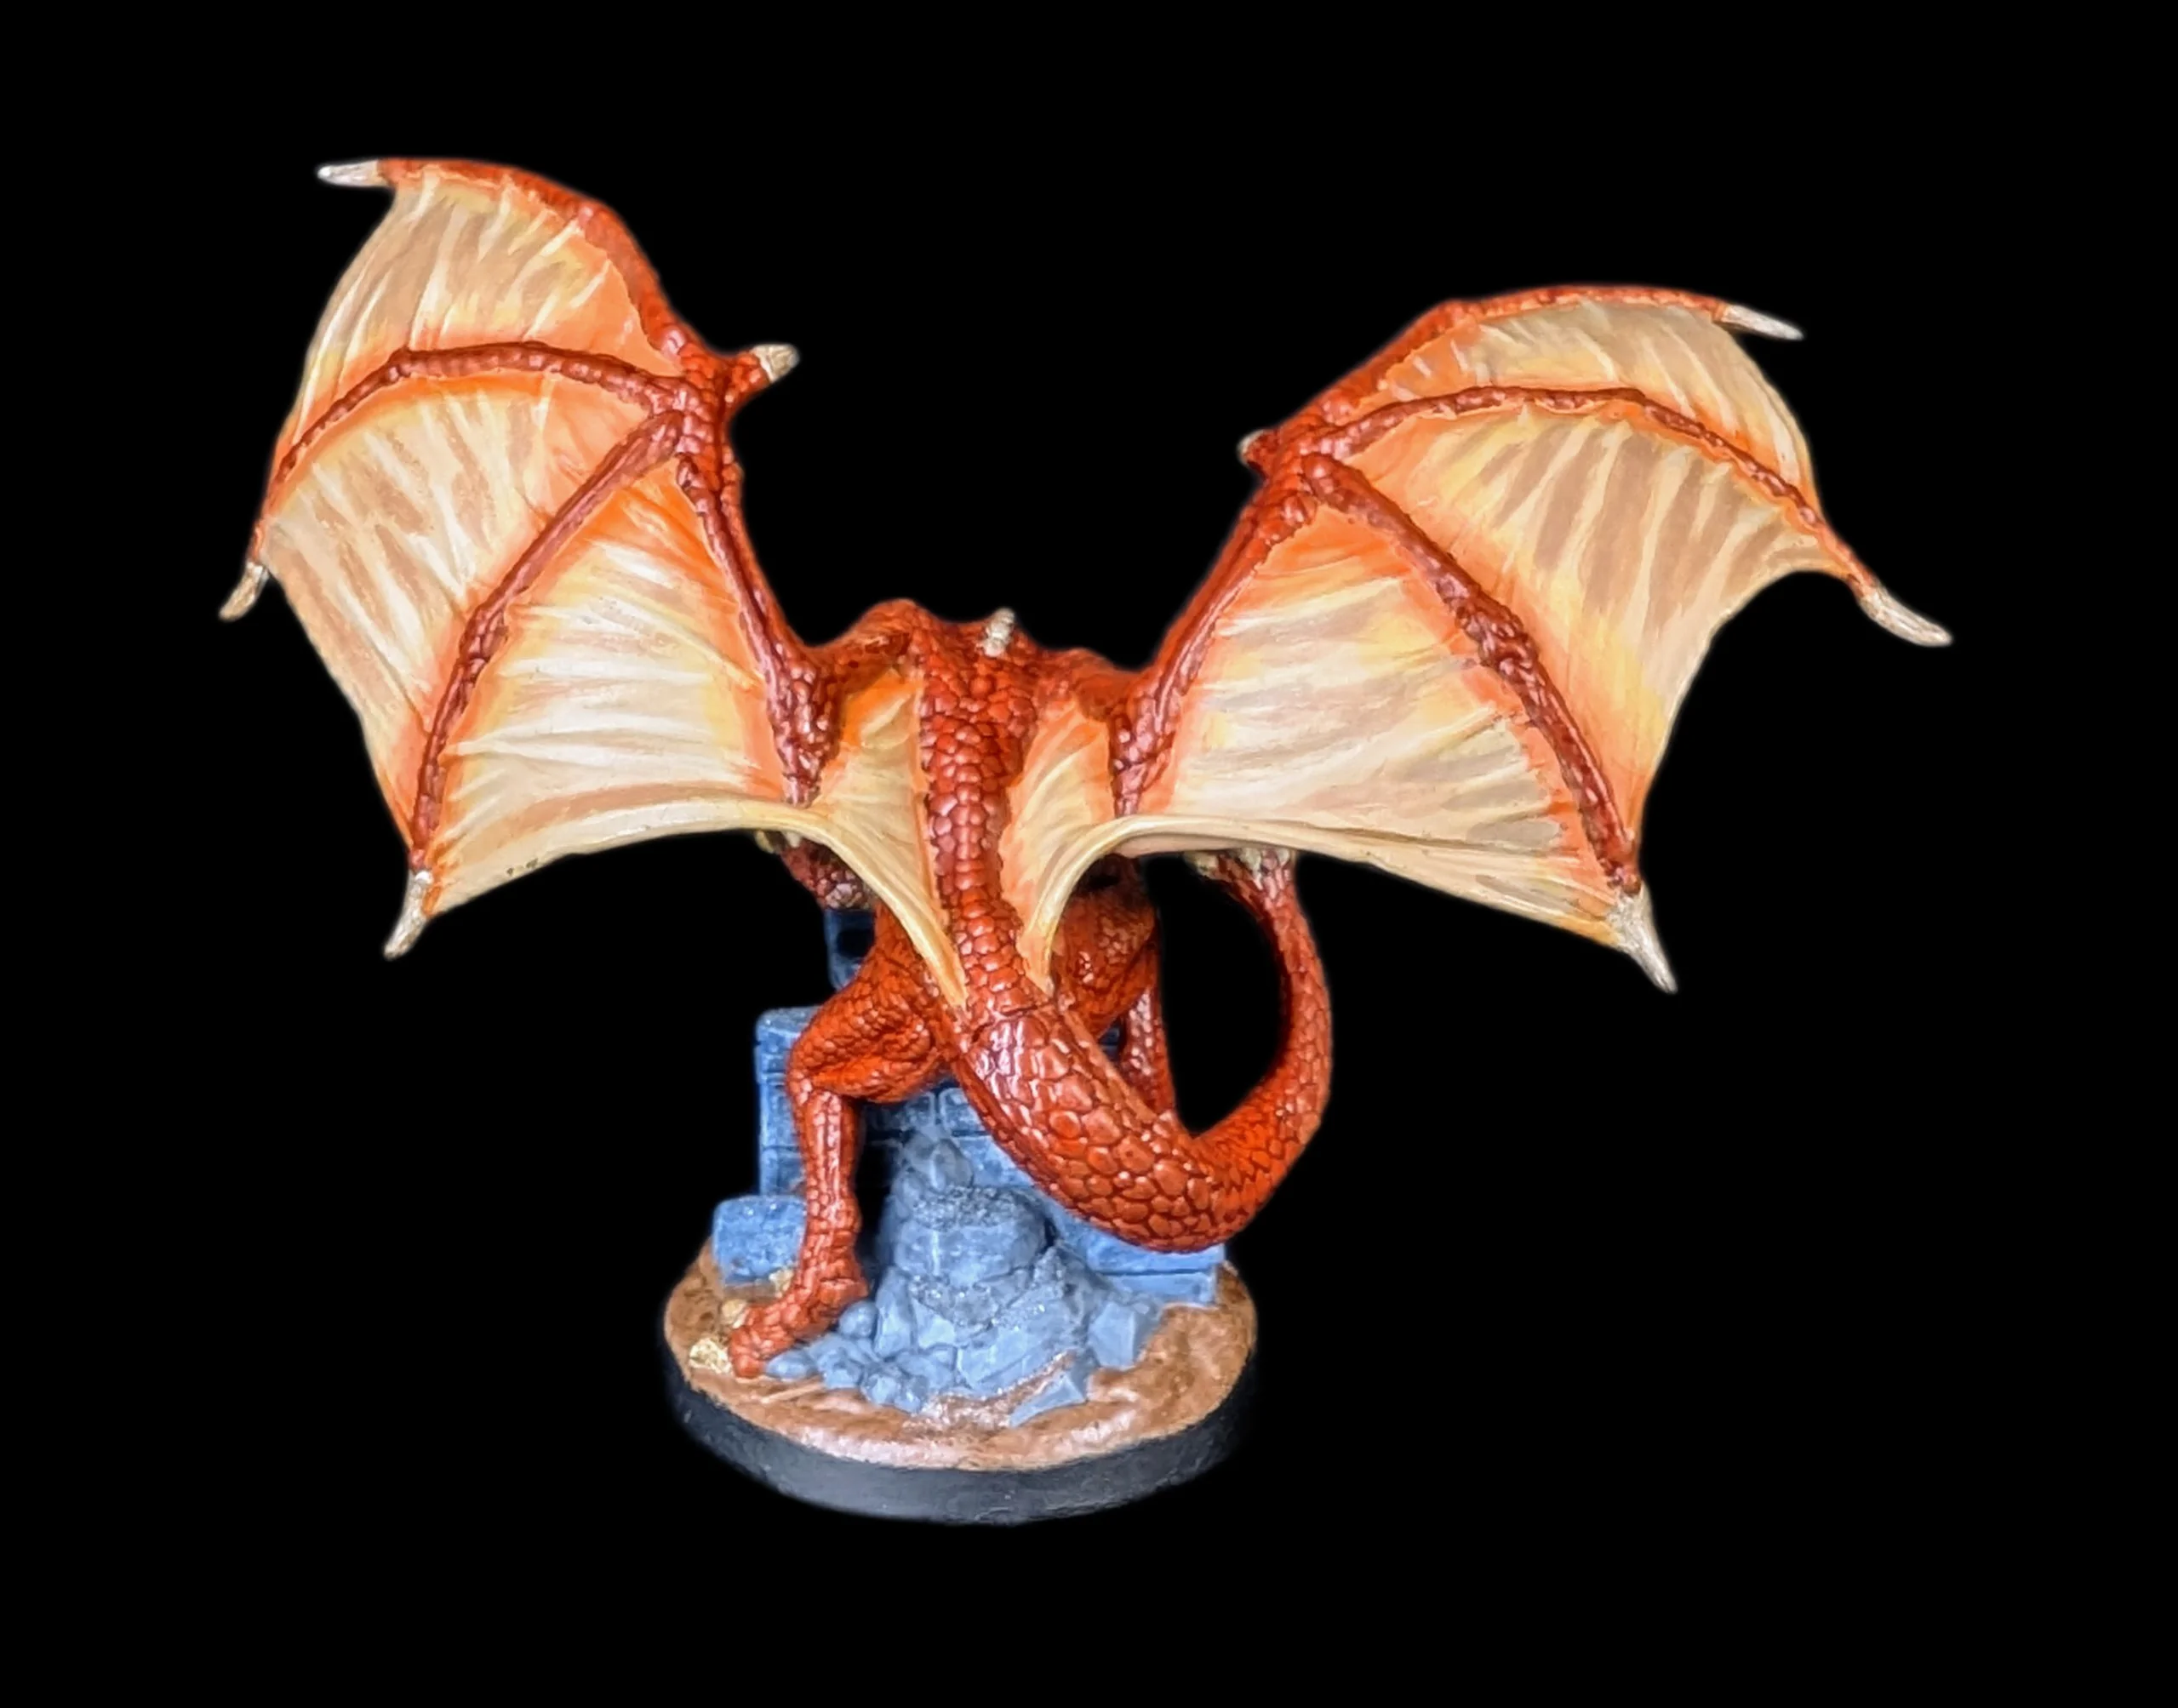
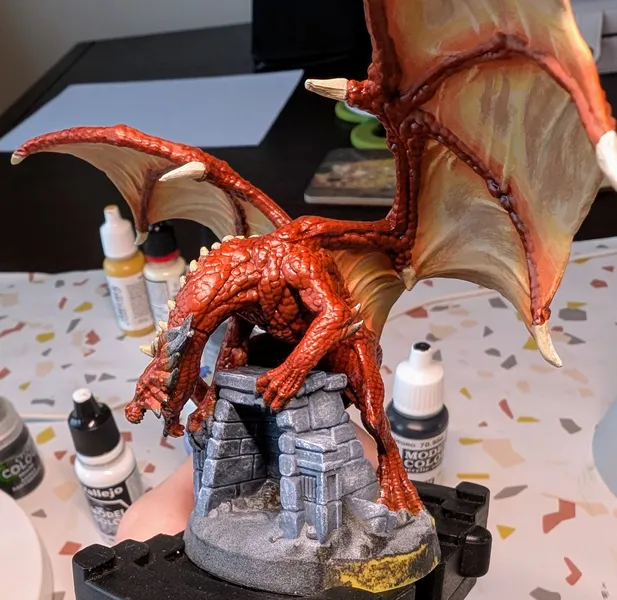
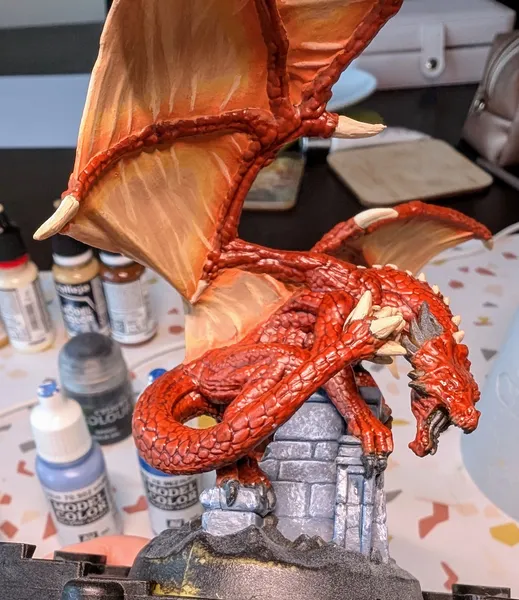
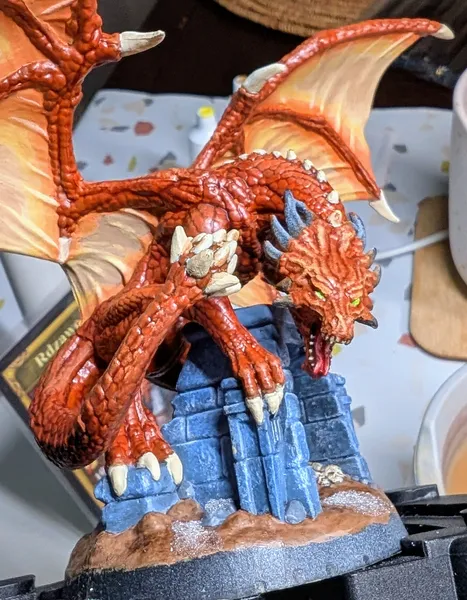
Wings
The wings need a brighter color with gradient-like transitions around the bone structure. First, I covered the areas not directly adjacent to the dragon's body.
Base layer for the wings.
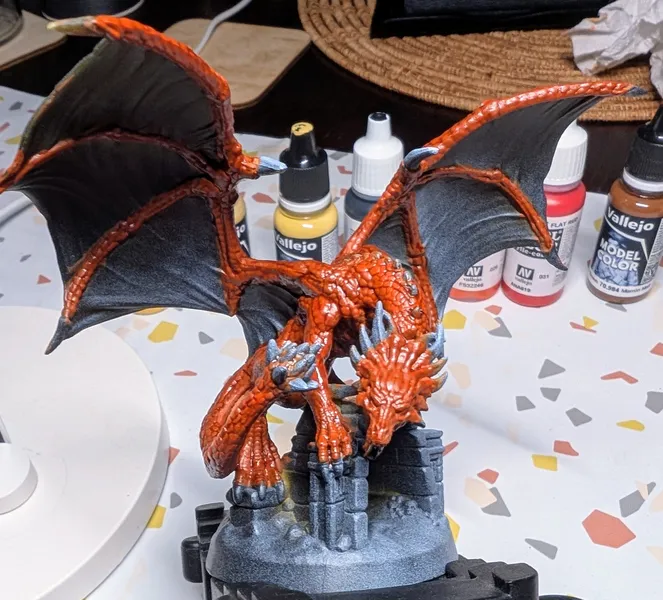
More coats with darker edges.
At this stage, I realized it would be better to cover all the wings with the same color and use glazing around the bone structure. However, not all is lost. Highlights will give the wings more volume, and the transitions can still be smoothed out.
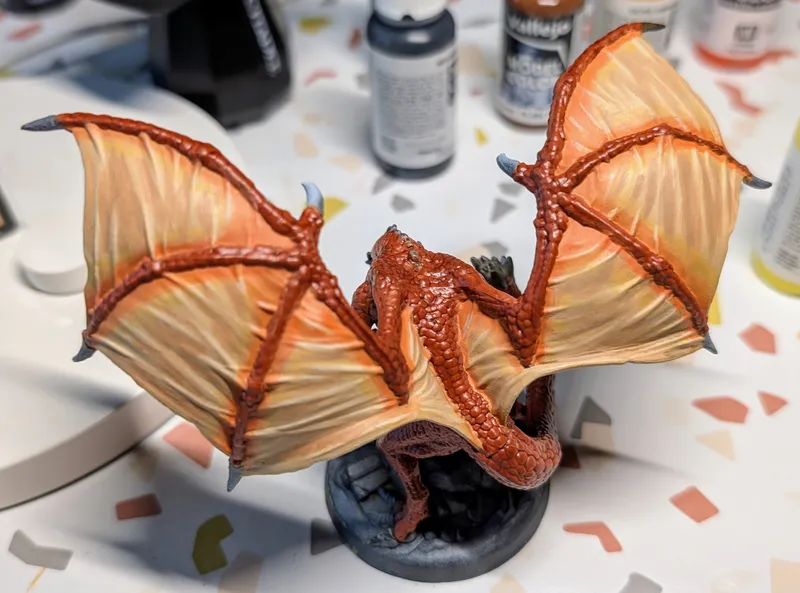
Initial wing highlights.
Inner highlights.
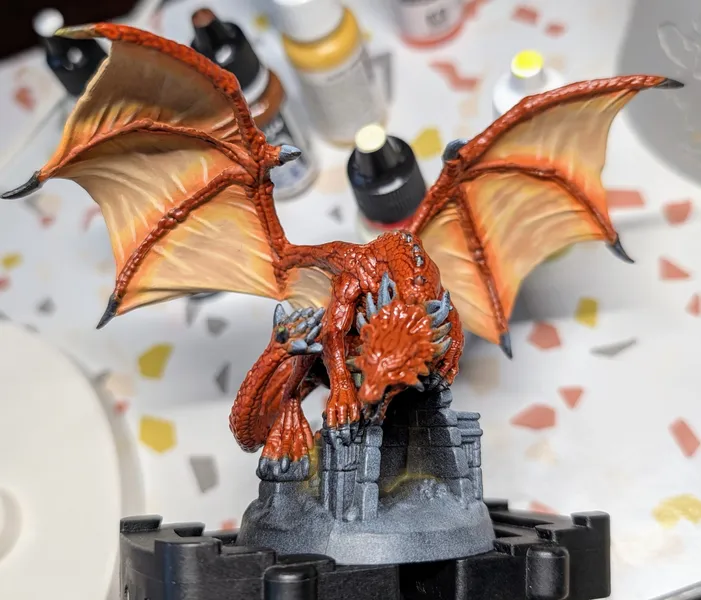
Claws
The claws are relatively straightforward to paint. I'll add weathering and highlights in a later stage.
I left the head unpainted to focus on it later.
Base
The base for this miniature is quite complex. It features a building-like structure, earth, stones, skulls, and snow in the reference picture. I started with the building.
Applied grey with a hint of blue, azure around the edges, and dry-brushed white for texture.
Both sides need careful dry-brushing.
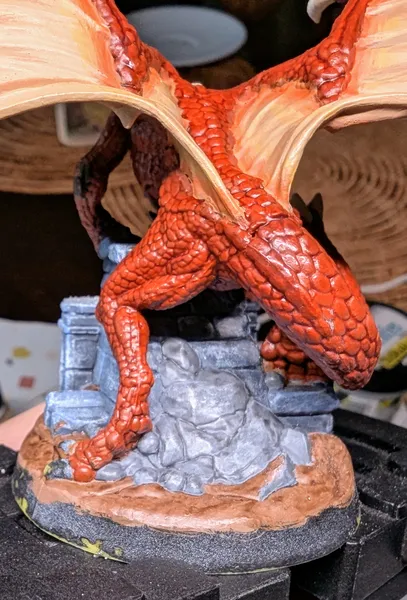
The stones in the back were painted without the blue tint.
For the ground, I chose a mud-like color with patches of melting snow. I used AK's Ice Sparkles for the snow effect.
Earth with patches of melting snow.
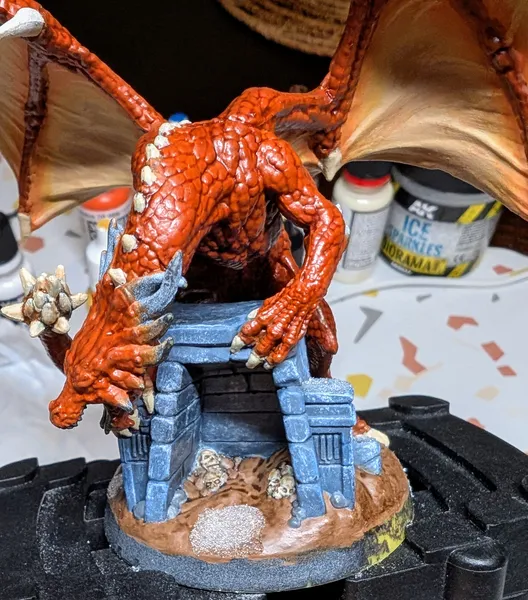
Skulls of unfortunate adventurers inside.
Head
The head is the focal point of the miniature, so its details and highlights should be the most prominent. I carefully painted the beast's snout, applied the strongest highlights, and added a glow effect to the eyes.
Snout with glowing eyes.
Finally, I painted the head's spikes. I achieved the weathering effect using Agrax Earthshade wash, which I then applied to all the remaining thorns.
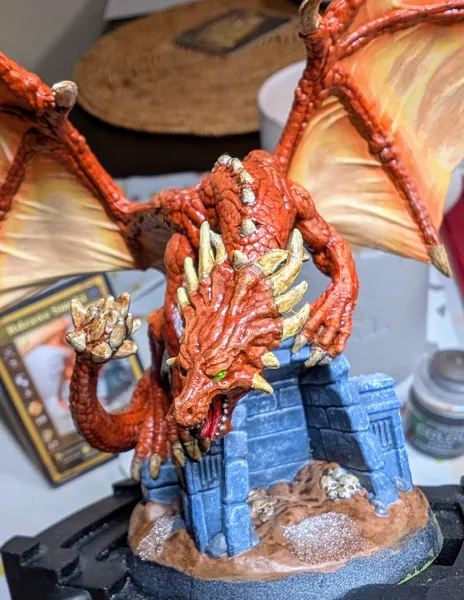
Weathered thorns complete the miniature.
Conclusion
Key learnings:
-
Use a cat tongue brush for large surfaces to save time
-
Painting eyes is manageable with the right brush
-
Creating gradient transitions is easier with glazing than by hand
-
Designer wife is gold, but friends letting you try some gear you haven't bought yet, that's silver